

Taking the wheels off your car is one thing, but removing the hubs from your old, rusty e30 is a whole other story. I already had the car jacked up from a previous session—one in which I crawled under the car and laid for a bit too long wondering why I had purchased a car that looked like a rust museum underneath. With the car on jack stands, the front wheels can be removed to access the dust caps that cover the front axle nut.
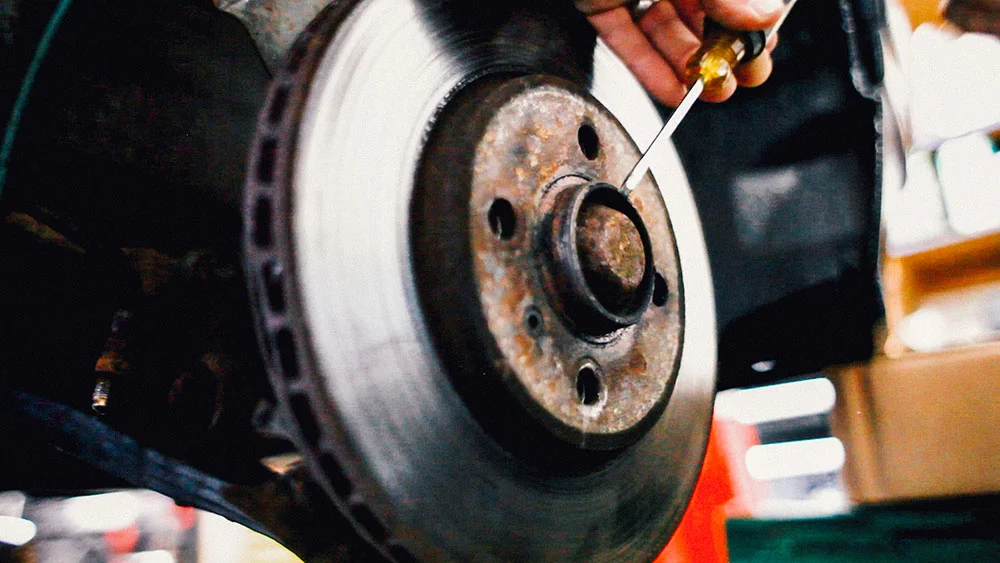
After prying those little guys off I was pleasantly surprised at the sight of the super clean axle nuts. The dust caps do their job. Once those are removed it’s on to straightening the locking tab on the nut. A hammer and punch or chisel makes quick work of this. There’s probably supposed to be dust caps on the rear axle nuts as well, but mine didn’t have them. Not surprising then that those nuts were not in tip top shape.

With the front locking tabs bent straight at the front of the car, it’s time to put the wheels on and lower the car. This is to gain the leverage needed to bust the axle nuts loose. An impact wrench may work, but to be honest I really don’t like using an impact on an old car like this until I know all the nuts and bolts are sound. So down the car goes, and a 32mm socket and long breaker bar do their job of removing the nuts from the front.

The rear is a little more complicated. There’s a locking tab around the nut, and it’s wedged so tightly around the nut that you can’t fit a proper tool in between it and the surrounding hub. And that’s before you add 30 years and a good dose of road salt and corrosion. What ensues, therefor, is an infuriating attempt to bend, wedge, pry, and chip away at this little piece of rusted metal until you can separate it from the nut that it so valiantly defends. It took a fight, but I overcame. Break the nuts free and you’re done.

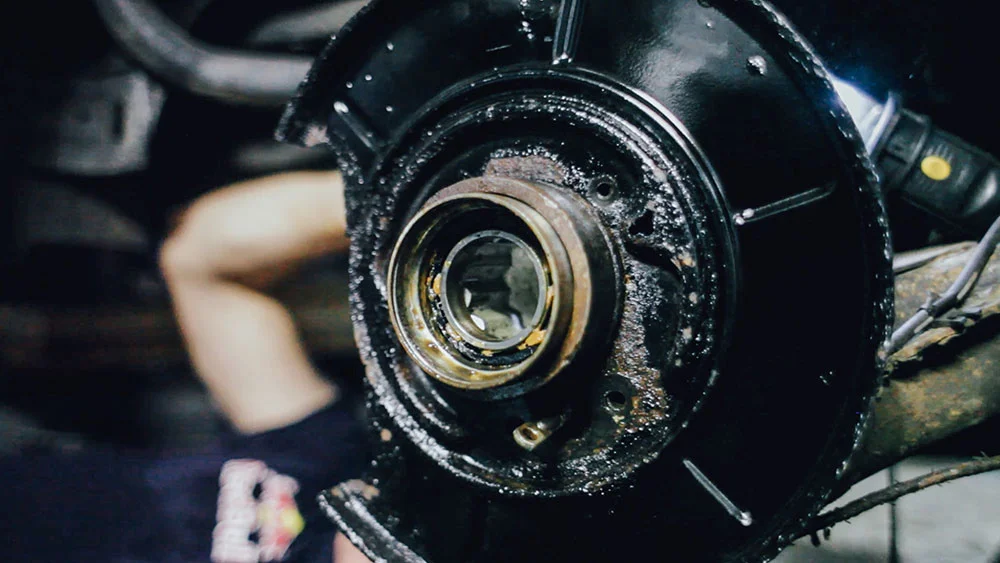
After all the nuts are loosened—but not removed—get the car back on the lift or jack stands and remove the wheels, caliper, and rotor. The caliper doesn’t have to be completely torn apart if you use some stiff wire to hang it out of the way and take all the tension off the soft line. Finally remove the axle nuts from all four corners.
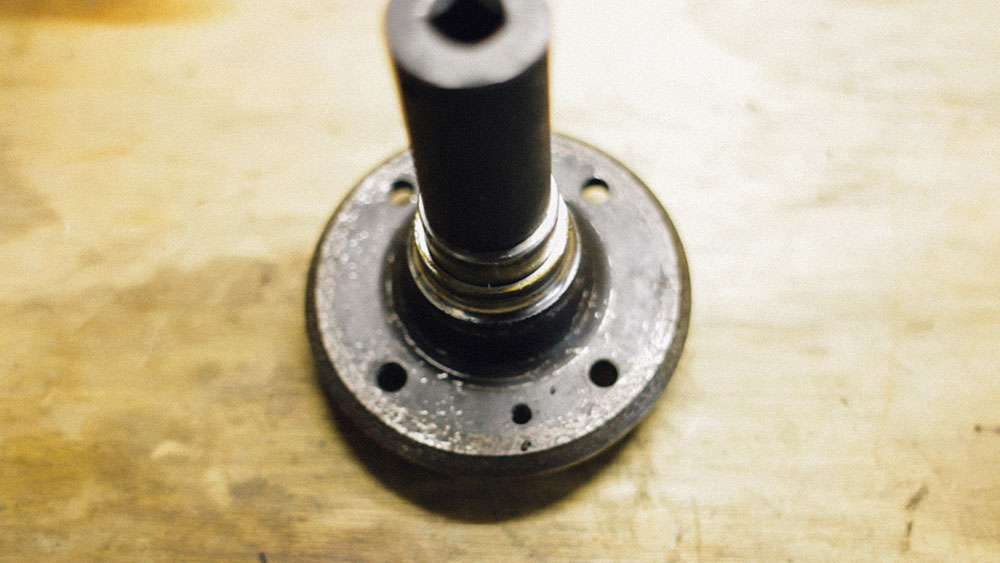
To remove the front E30 hubs you can use a three-jaw puller to pull the hub off. It’s really quite easy. Just make sure you’re pulling straight. Then it’s a matter of putting on a new bearing and hub assembly, which you press on gently—and absolutely as straight as possible—and then tap the inner race with a socket and mallet just softly enough to get it to slide on. Easy.
To remove the rear hubs you first have to remove the axles. I was removing mine completely so I could remove the diff as well (different story for a different day), but all you have to do is press the outer side out of each hub with the three-jaw puller. Make sure to suspend it from the chassis with stiff wire, just like you did for the calipers—you want to take tension off the inner CV joints. Then it gets tricky. Well maybe not, but first let me say I’m not a mechanic. I’m self taught and learn as I go. Because of this, some of my methods may not be “right”, but I do my best to make sure they’re safe (for me and the car) and sound. So after a lot of trial and error and frustration, this is the way I did it.
A sledgehammer and a 27mm socket.
Get under the car, line the socket up over the center portion of the hub, and drive it out from behind. Once the hub is out, take a pair of snap ring pliers and remove the retaining ring holding the bearing in place. Then I used a 1-3/4” socket and the same sledgehammer to drive the bearing out from behind. That’s it.
 Now, there may be other methods. But after a lot of wrong tools and unnecessary special homemade concoctions, this ended up being a really easy solution. It just required some thinking and taking a step back. Sometimes we think a solution has to be difficult or complicated, but it’s not.
After you remove the rear bearing, installation is the reverse of removal. Clean everything up, put in a new bearing, line up the splines on the hub, and drive it in place. Carefully.
In full transparency, I haven’t installed the new rear bearings or reinstalled the hubs on my car yet. I’m in the middle of reinforcing my trailing arms and subframe, putting in new brake lines, rebuilding the diff, and hopefully installing new axles. So. Much. Work. When I do, I’ll put a link right here and probably up top too.
But this car is going to sing when it’s done.

