

Performing the S54 oil pan upgrade on an E36 BMW 3-Series is highly recommended if you plan on taking your car to the track. We’ve put together an oil pan kit that allows you to upgrade your stock engine with something that can keep up with increased lubrication requirements and stave off any oil starvation.
Best of all, you can perform this upgrade at home using several tools and a bit of elbow grease. Here’s how.
Article UPDATED on 24 Jun 2021
What Exactly Is the S54 Oil Pan Upgrade?
Engine oil is essential for proper engine performance. Constant lubrication is necessary to keep everything running smoothly, reduce wear and bring friction between different engine parts to a minimum. The way most engines recirculate oil is simple.
While the engine is off, most of the oil gets collected in the oil pan. The moment you start the engine, the oil from the oil pan is picked up by the oil pump and sent to the oil filter. From there, the oil is distributed to the essential parts of the engine until it reaches the valve cover where it starts draining back to the pan.
Some of these essential parts include your crankshaft bearings, cams, the valve train, and more. If any of these parts are left without lubrication for long enough, they can become damaged.
Track Cars VS Regular Cars
Oil starvation isn’t really a thing with daily driver cars unless there’s something seriously wrong with the oil pump, and/or oil consumption. However, once you put a standard car, say a regular BMW E36, on a track and push it hard, you’re opening a potential can of worms that can put an end to your adventures real quick.
As it turns out, throwing a car around the track can cause intermittent oil starvation due to high Gs the engine experiences while cornering. The perfect storm of circumstances can leave you with a dry oil pump for a split second.
Right about now you’re probably wondering just how much damage can a moment of zero oil pressure cause?
In a car driven under normal conditions in light traffic? Not much. That being said, an engine that is constantly revving near the limiter is operating under a very different set of circumstances. Frequent periods of oil starvation, even for a second, can cause irreparable damage under such conditions.
Since the BMW E36 has become one of the most popular tracks day cars and its stock oil pan/pump setup isn’t suitable for track use, BMW enthusiasts figured out how to solve the problem on the cheap (relatively speaking).
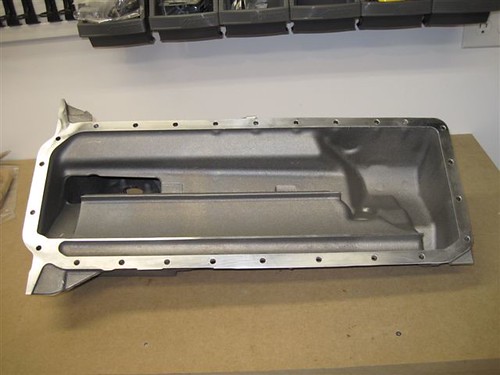
S54 Oil Pan – A Dry Sump or Something Else?
BMW’s Motorsports division has faced the same issues when they were adapting both BMW E36 and E46 M3s for serious track use. So much so that they’ve completely redesigned the oil pan and oil pump system.
The result is something that looks like a dry sump setup, but isn’t since dry sumps weren’t allowed in DTM. Instead, they’ve created the S54 oil pan — something that is between a standard oil pan and a dry sump.
The only issue with this setup is the fact that only Euro-spec BMW E36 M3s ever came with upgraded oil pans.
However, all BMW E46 M3s feature this dry sump-like oil circulation setup.
Best of all, the sump from the S54 engine can be bolted to an M50 engine from your average BMW E36.
If you’re running into oil starvation issues on your straight-six BMW E36, this is the best solution out there short of a custom dry sump setup.
Here’s how to upgrade your car, step-by-step.
Installing the S54 Oil Pan On An BMW E36 M50 Engine
Alright, to get this show on the road, you’ll need some basic tools and some not-so-basic tools. Let’s start from the top, literally.
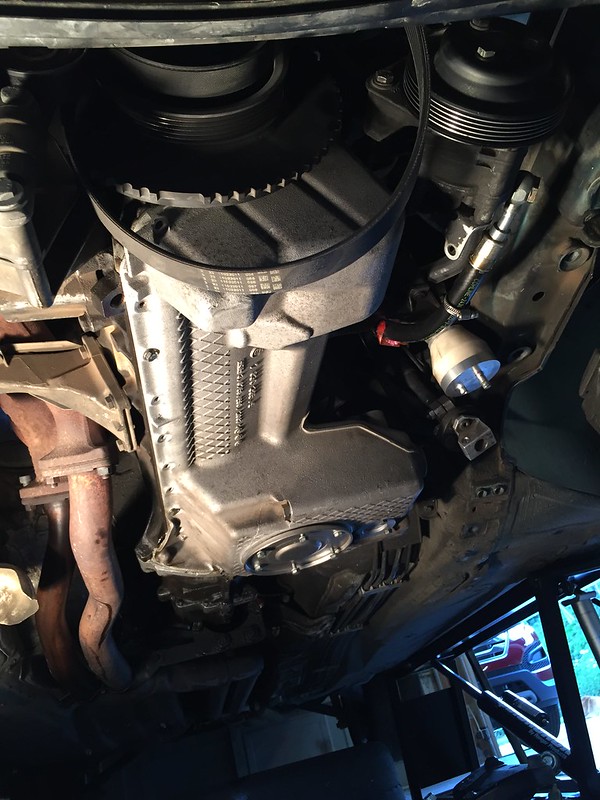
Step 1 – Secure the Engine
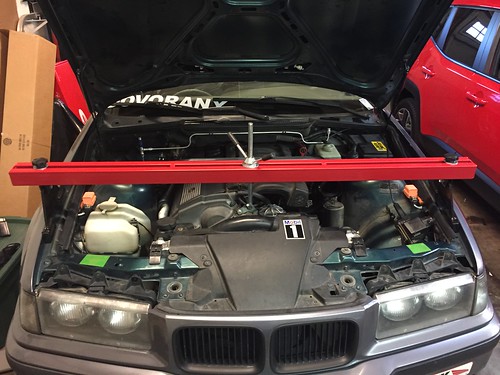
First thing first, you’ll need to secure the engine by installing the engine support bar as pictured above. Once the engine is immobilized, jack the car up and grab your socket wrenches and screwdrivers.
Step 2 – Clear the Way Around the Dipstick

Since you’re swapping the entire oil circulation system, you’ll need to get rid of the stock dipstick as well. To get to it, you’ll have to remove the air box, get rid of the intake boot as well as the alternator duct. Only then will you be able to access the bolt that is securing the dipstick in place.
Step 3 – Drain the Car
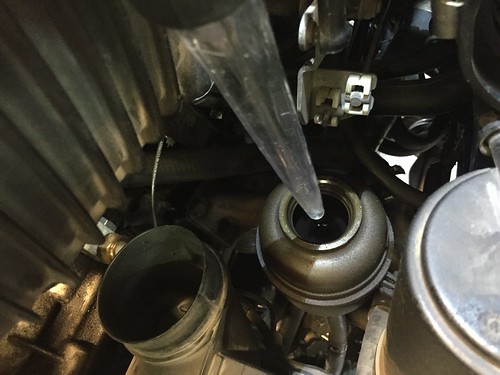
The next step involves draining the oil from the car, but also getting rid of the power steering fluid. You’ll need to disconnect the power steering lines, so you’ll want that system to be dry.
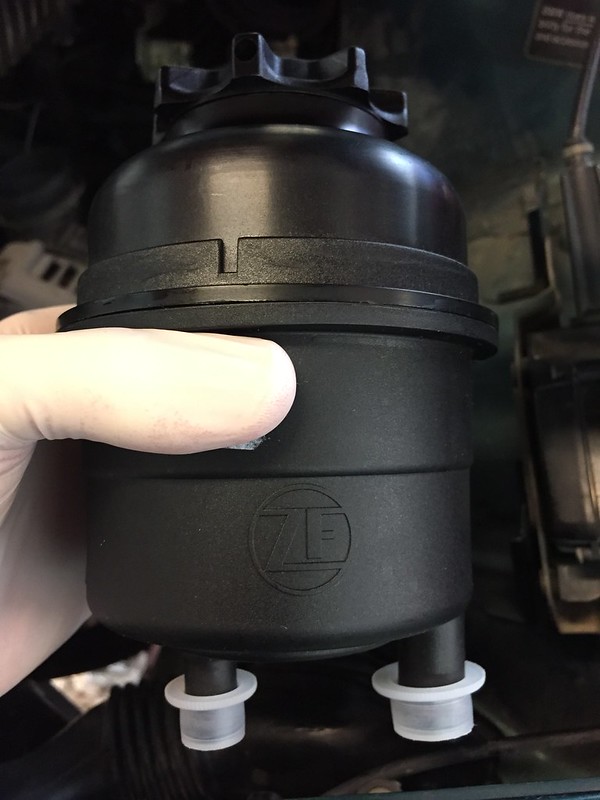
Get as much fluid out of the power steering reservoir using the good ol’ turkey baster. You get a bonus cookie if you decide to replace the whole reservoir, since the integral filter these come with is probably dirty by now.
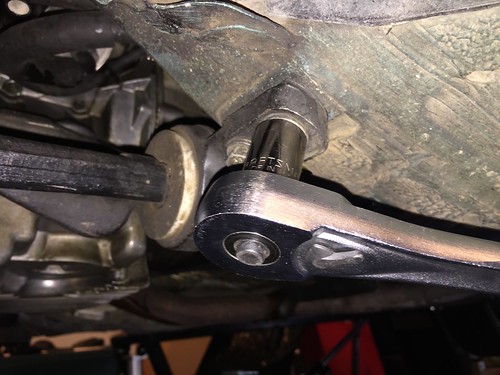
Step 4 – Drop the Steering Rack
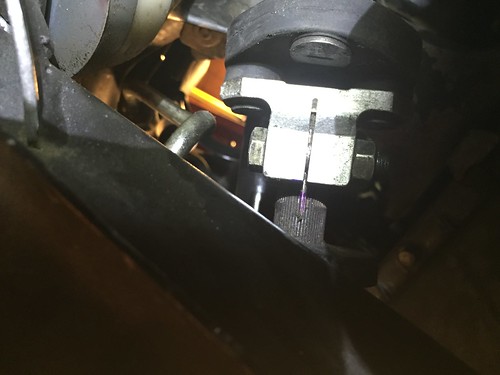
To get this project done, you’ll need to drop the steering rack. However, before you disconnect the steering shaft from the coupler, make sure to mark the alignment using a scribe or a pen of some kind. This is one simple step you don’t want to forget.
Once you’ve marked the shaft, go ahead and remove one of the coupler bolts to allow the rack to drop free.
Step 5 – Drop the X Brace
If your car is fitted with the X brace that sits on top of the subframe, undo the six bolts that hold it in place and remove the brace.
Step 6 – Remove the Front Subframe
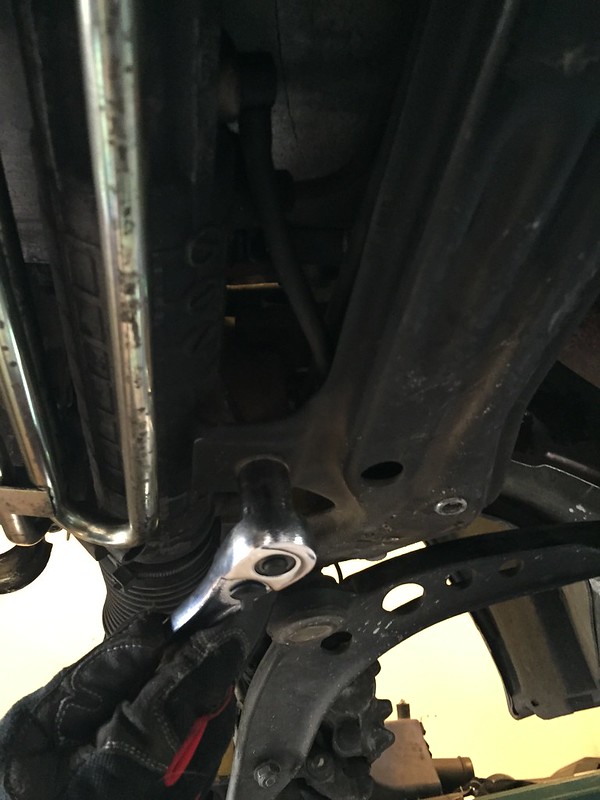
First, you’ll need to remove the two bolts that connect the steering rack to the subframe. If your car is on jack stands, as it should be, take the rack and zip-tie it to the chassis.
Next up, remove the rear control arm bushing carriers and then remove the nut that is securing the engine mounts to the subframe.
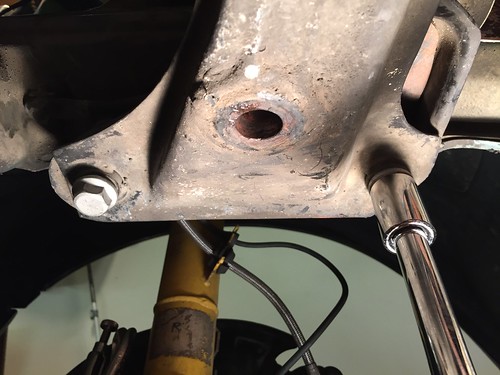
Once the mounts are out, you’ll need to get a floor jack to give that subframe some support as you remove the 4 bolts that keep it mounted to the car.
One thing to note is that you don’t really have to remove the subframe all the way. You can just let it hang on the bolts. However, removing it makes what comes next much easier.
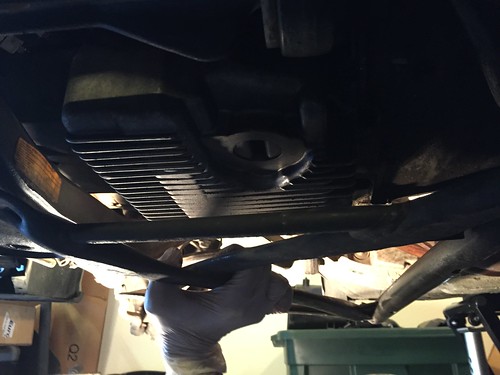
Step 7 – Remove the Oil Pan
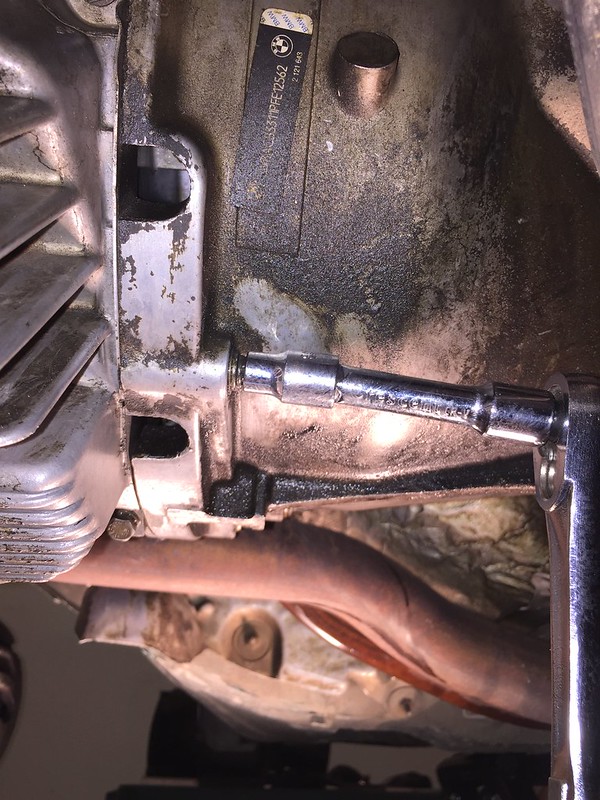
To remove the oil pan, you’ll need to support it in place while you remove the 20 something bolts that secure it to the engine. You can use a floor jack or anything else you can get your hands on, as long as you don’t load the bolts while removing the pan.
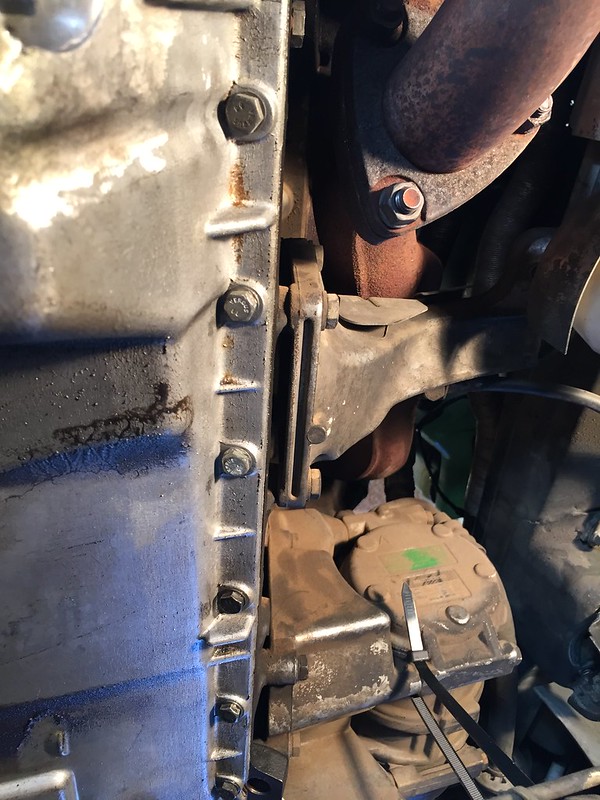
We suggest you start with 3 Torx head bolts that attach the oil pan to the transmission. On some versions of the BMW E36, the power steering pump’s support bracket will cover 2 of the oil pan bolts. If that’s the case, you’ll have to remove the pump by first removing the accessory belt and then disconnecting the pump altogether.
If the pan doesn’t want to come off on its own, take a rubber mallet and start working it around the edge. It should come off easily.
Step 8 – Remove the Oil Pump Sprocket Nut
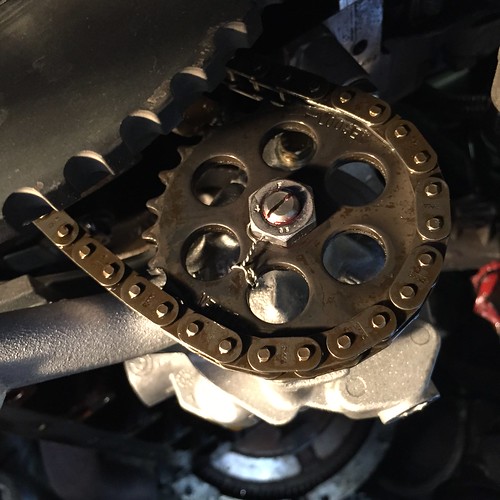
With the oil pan off, you’ll get the first look at the pump and the rest of the goodies inside. Locate the oil pump sprocket and remove the nut that is attaching the sprocket to the pump. Be EXTREMELY CAREFUL here. The nut is REVERSE THREADED.
Step 9 – Remove Oil Pump Components
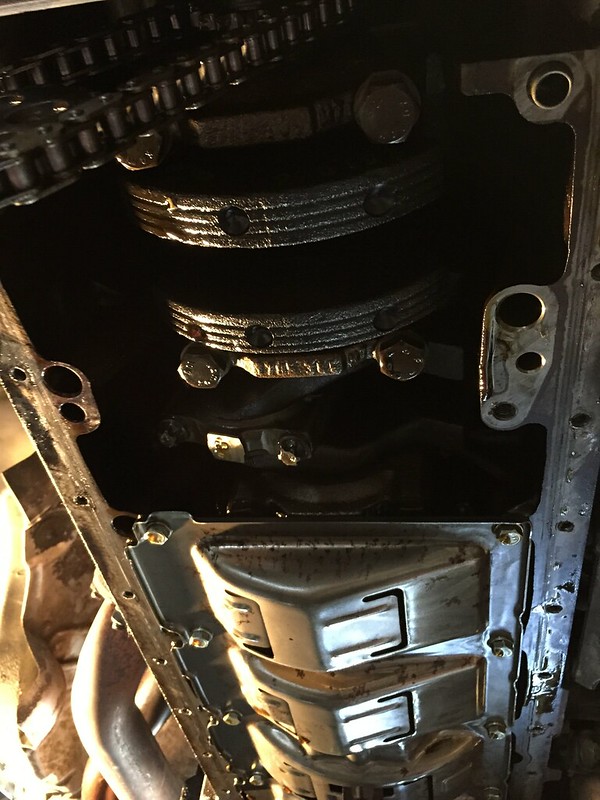
With the sprocket out, undo the 3 bolts that are holding the oil pump in place as well as the 2 bolts that are holding the oil pickup in place. Once those are off, remove the pump, pickup, and the windage tray that sits above the pickup.
Step 10 – Install the New Pickup Tube
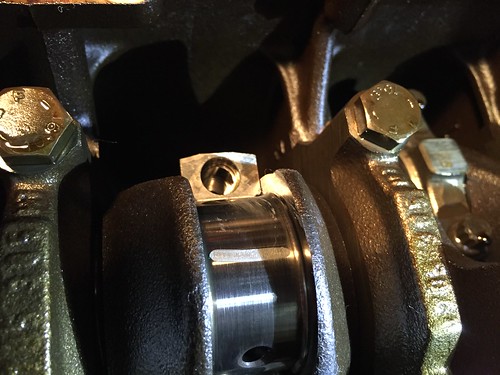
To install the new oil pickup tube, you’ll need to remove the appropriate main bearing caps and install the two unique supports that come with the new tube. To do this, remove the main bearing bolts, mount the new brackets, and reinstall the bolts. Make sure to use new bolts as these items are one-time use only. This part of the process requires the use of a torque angle meter as well.
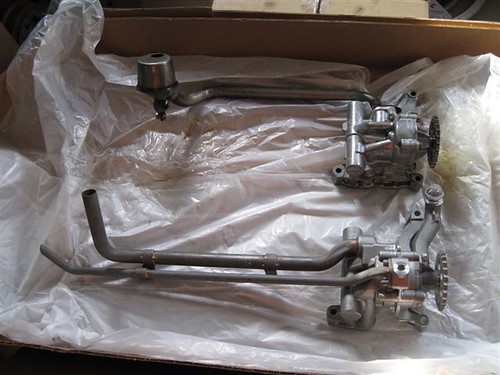
Step 11 – Mount the New Pump
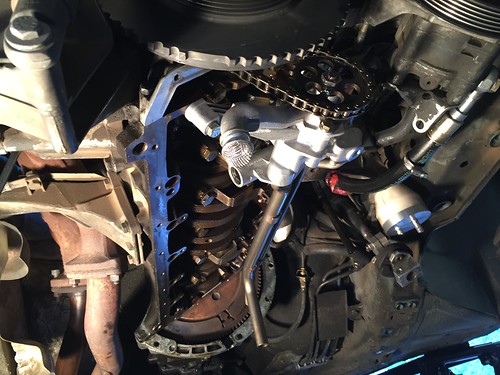
With everything ready, go ahead and mount the new dual pickup oil pump where the old one used to be. Take the pickup tubes and attach them to the pump as well as the brackets. Next, reinstall the sprocket and chain to the pump.
We recommend that you use a safety wire to secure the nut in place, as picture a few steps above. These are known to come loose over time, leading to a very bad day at the shop.
Step 12 – Put Everything Back Together
From here on out, you’ll be mounting everything back in place in the reverse order. Few things to remember, though.
Use a new oil pan gasket, use the dipstick/tube that came with the new pump, if your car was made in 1995 or before, you’ll have to plug the oil separator hole on the oil pan. All you need is a drain plug and a crush washer.
Step 13 – Replace All Fluids
Last but not least, replace all the fluids that you’ve taken out, including engine oil and power steering fluid. Also, your new S54 oil pan will reduce the overall oil capacity of your engine, so make sure to add oil and check the dipstick frequently as you fill it up.
Use Quality Performance Oils
Since you’re building a track day car, make sure that you’re using the appropriate oil. We carry Motul’s top-of-the-line lubricants, including the high-performance 300V Competition series of motor oils.
Check out our catalog by going over to our online store and navigating down to Motul lubricants. If you have any questions regarding our offer, feel free to get in contact with us. Our customer service reps are standing by to offer assistance.

