

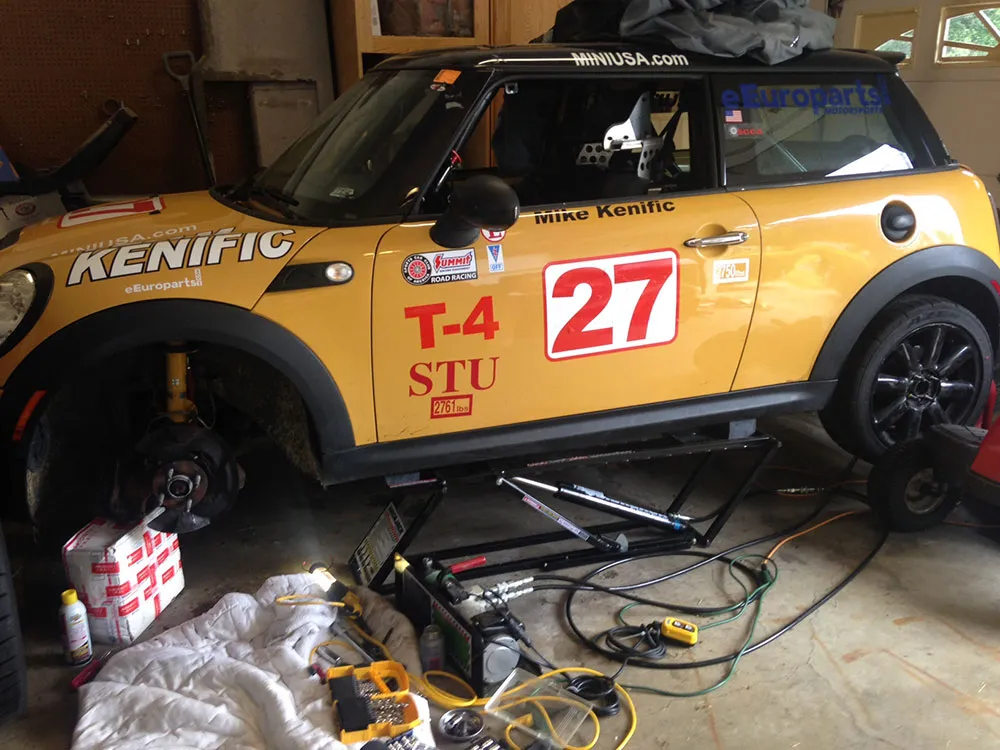
Upgraded racing brakes operate at a much higher temperature than OEM brakes, however brake fade due to overheated brakes are still a concern on the racetrack, especially on hot days. If you are doing any kind of racing with your car, a small bit of cooling will go a long way to both add longevity to your brake pad wear as well as reducing fade in braking zones. I have installed a simple front brake cooling modification on my MINI using Mishimoto high temperature silicone ducting hose from eEuroparts, along with some plumbing parts available at you local hardware store and metal brackets that I had made at a local fab shop. All of this is easy enough to do with even basic DIY skills.
First, I removed the fog lights from the lower front bumper to create the air inlet for the brake cooling. I had the front bumper already removed, this made it a lot easier however you could remove them with with the bumper on and front tires removed.

The fog lights are held in place by a round bracket, once removed the fog light assembly will drop out. Be care full not to break the fog light retainer bracket, you are going to reuse it. Once the fog lights are removed you install the plumbing fixtures shown in the picture, the fog light bracket will hold the plumbing fixture in perfectly. This was very easy on the passenger side, the driver side is a bit harder. Alternatively, a variety of brake duct funnels can be found online. The hose I am using is 2″ and these funnels worked great. eEuroparts also sells 3in and 4in diameter high temperature ducting.

On my 2009 Mini Cooper, the window washer fluid reservoir was in the way of routing the hose clear of the tire. Window washers have not worked on my car since the removable steering wheel went it, thus I simply removed the reservoir.
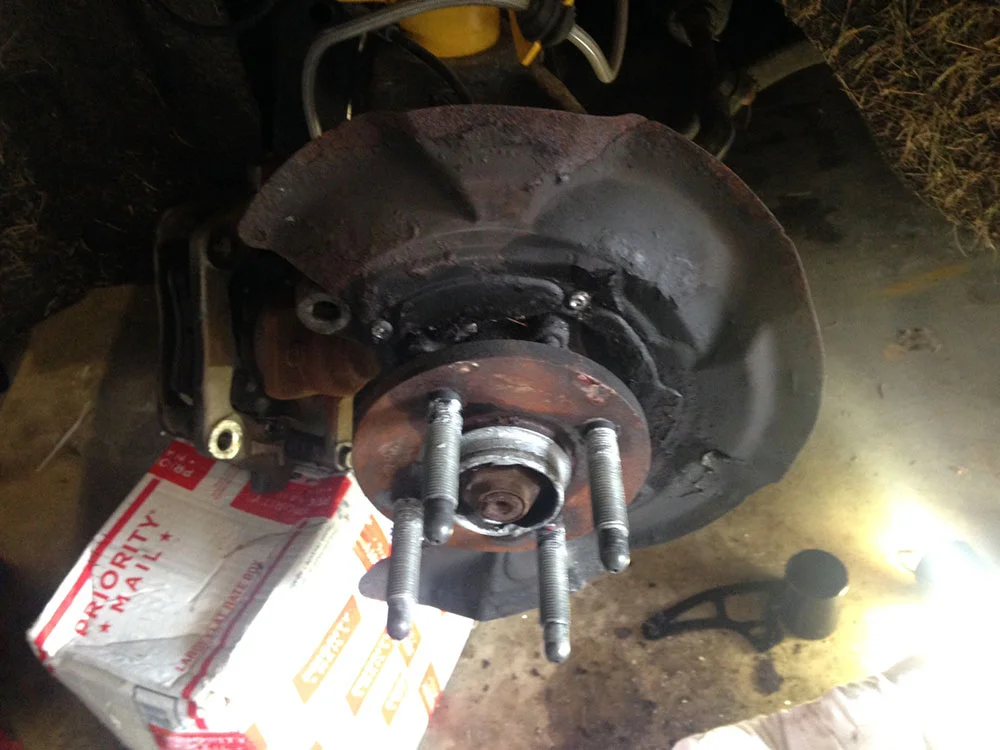
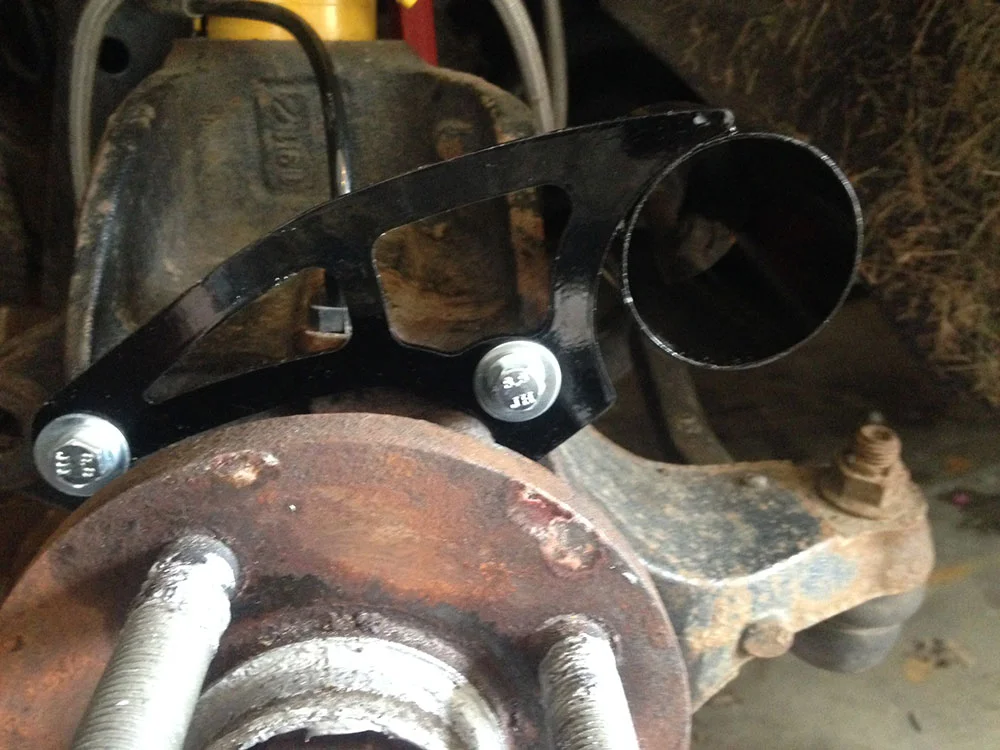
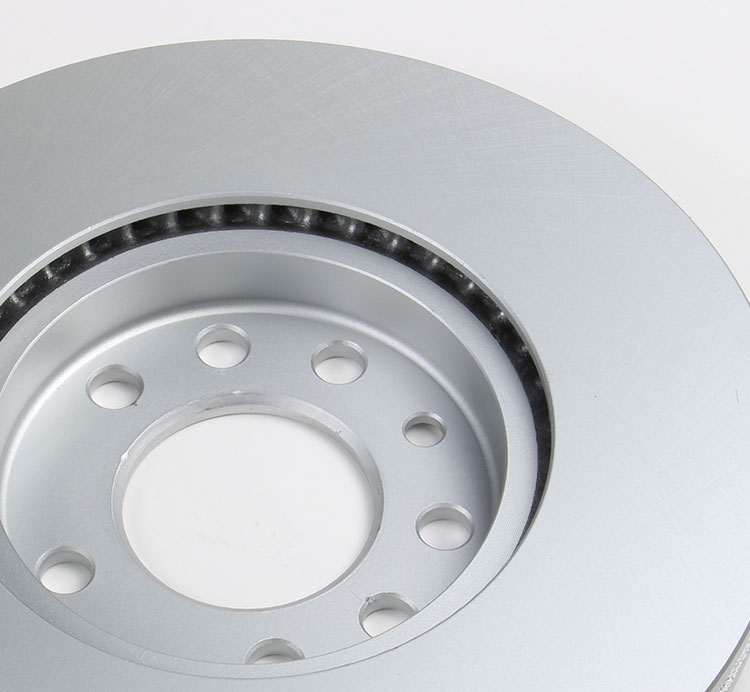
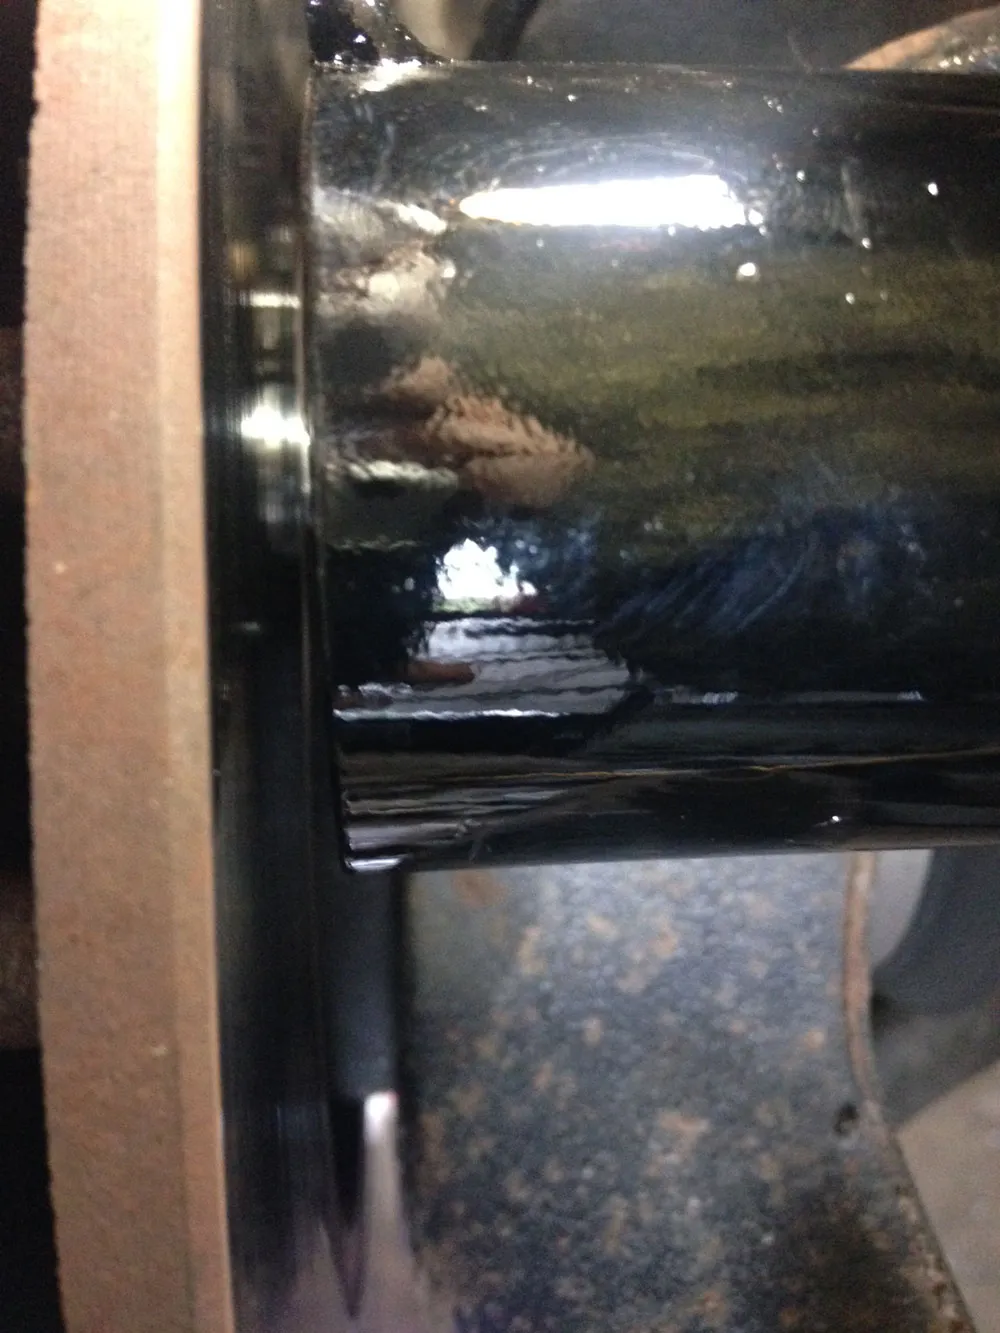
The metal brackets I had made bolt on the back of the caliper using the existing caliper bolts, very easy to install. You can see them clearly in the photo above. This bracket will replace the heat shield so the thickness will remain the same and mounting hardware length will not be affected. Simply routing a hose into the wheel well will not have much of an effect. The hose must exit right onto the brake rotor, preferably into the cooling vanes if they are accessible from the back. For rotors where the vanes are open on the front, you would have to make a drum like enclosure which is a lot of work, or spring for 2-piece racing rotors.
A simple cooling hose bracket can be made with a bit of metal tubing of the correct diameter (same as the hose you plan on using) and some thick sheet metal. Basic welding experience would be required. Conversely if you use a new dust shield (or one in good shape), you can use a hole saw and a simple bracket to attach the hose directly to the back of the dust shield. Both of these setups would provide very good cooling. On the MINI, the latter wouldn’t work well due to the shape of the dust shield.
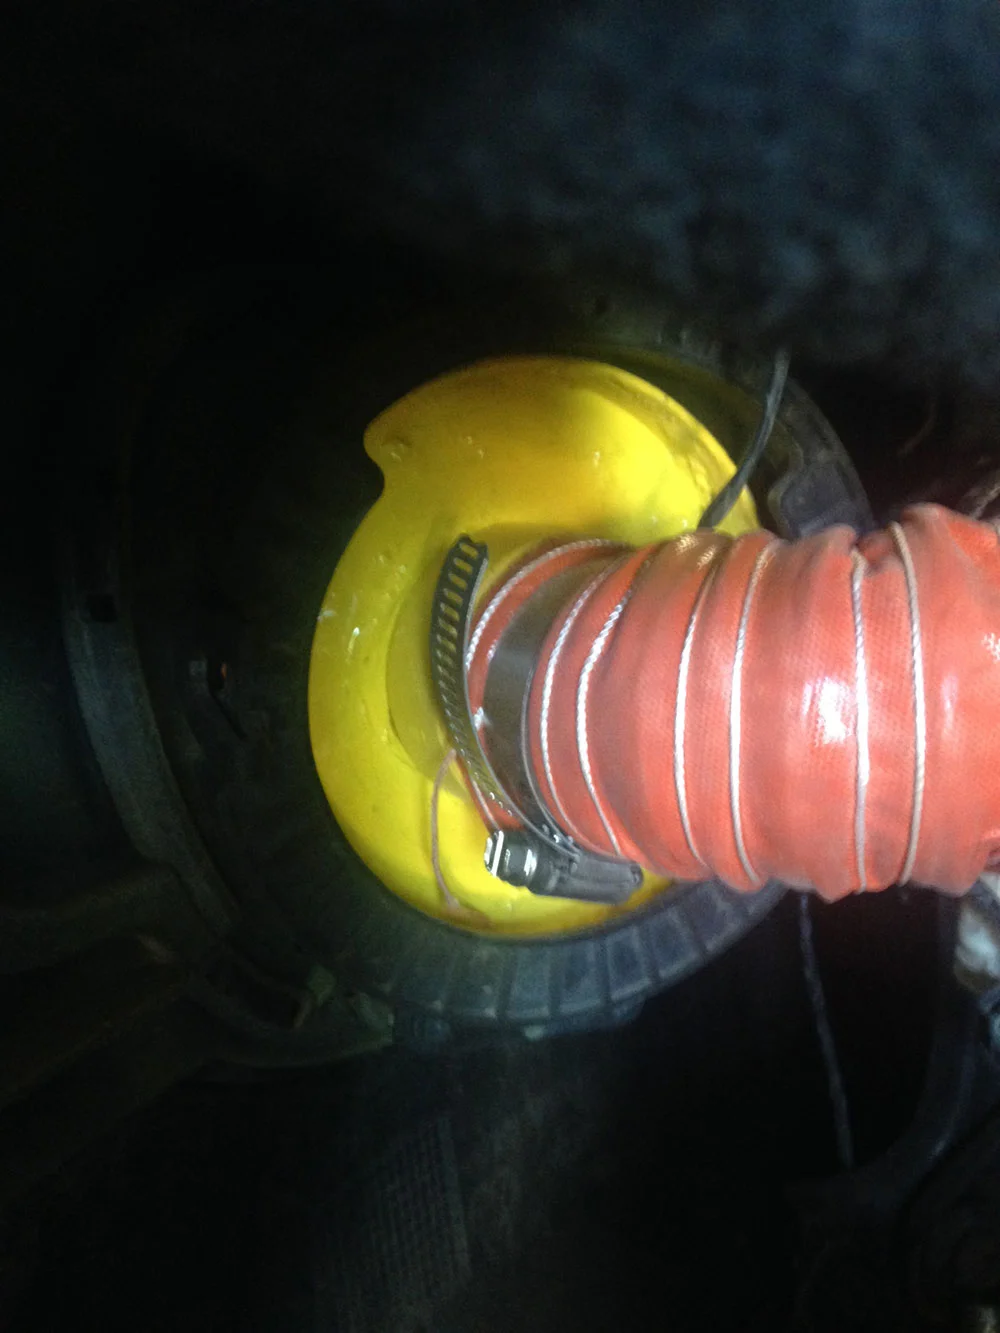
The Mishimoto Silicone hose runs from the air inlet fittings to the brackets on the calipers, the hose is very flexible and easy to work with, I secured it along its route with ty wraps. This again was very easy on the passenger side, not so easy on the drivers side. On the drivers side I had to add a union at the point of the strut to get the hose routed so it was not the low point on the car.
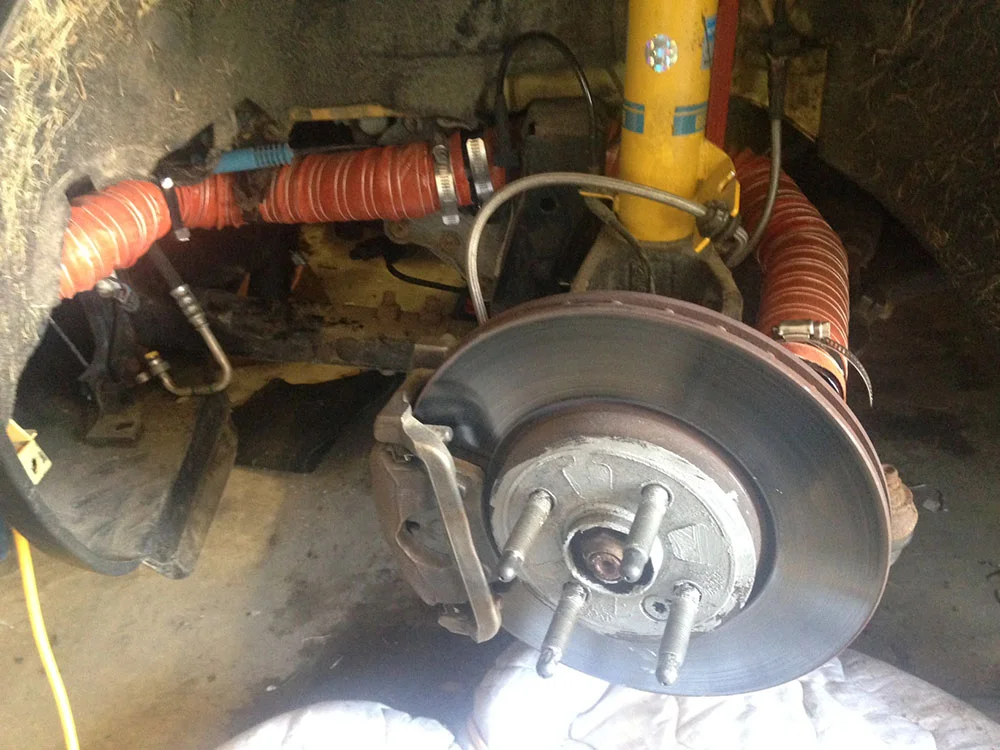
Cool air will now be forced from the lower portion of the front bumper to the back of the brake rotor. I will let you know how well it worked after the next race weekend!


Hey! I’m planning to do the same mod. How did this work out for you!
My problem is boiling brake fluid. I’m hopeful this will stop that.